아두이노에서 시리얼 모니터를 이용하면
프로그램 실행 중간에 변수값을 확인할 수 있습니다.
이를 이용하면
디버깅을 좀 더 쉽게 할 수 있습니다.
0. Open Serial Monitor
시리얼 모니터 여는 방법은 두가지로,
아래 그림의 빨간색 박스로 표시된 메뉴를 누르면 됩니다.

1. Print "Hello" text on serial monitor
시리얼 모니터에 문자를 출력해 봅시다.
9600bps(초당 9600bit 전송)을 설정하였기 때문에
시리얼 모니터에도 같게 맞춰줍니다.
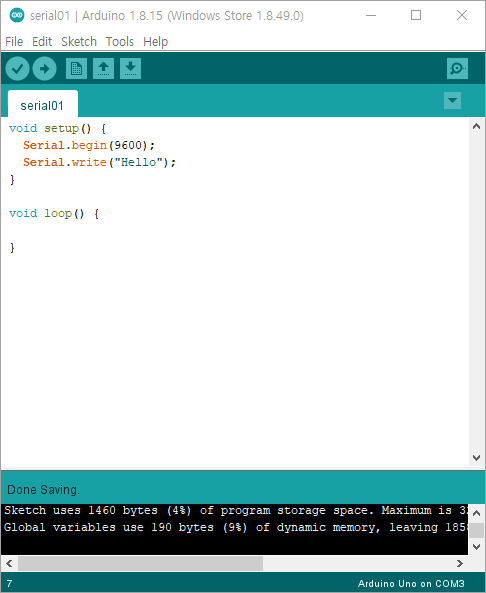
아래의 코드를 작성하고
upload하면 Hello가 출력되는 것을 알 수 있습니다.
void setup() {
  Serial.begin(9600);
  Serial.write("Hello");
}

void loop() {

}

2. Print ASCII on serial
아래의 코드를 실행하면
65를 출력하는 것이 아닌
A를 출력합니다.
65가 ASCII 코드로 A이기 때문입니다.
void setup() {
  Serial.begin(9600);
  Serial.write(65);
}

void loop() {

}

ASCII 코드표는 다음과 같습니다.

https://www.alpharithms.com/ascii-table-512119/
ASCII Table: Printable Reference & Guide - αlphαrithms
ASCII Table The American Standard Code for Information Interchange (ASCII) is a means of encoding characters for digital communications. It was originally developed in the early 1960s as early networked communications were being developed. A 1969 RFC20 out
www.alpharithms.com
만약 65를 출력하고 싶다면
print()함수를 사용합니다.
void setup() {
  Serial.begin(9600);
  Serial.print(65);
}

void loop() {

}

3. Print text in loop
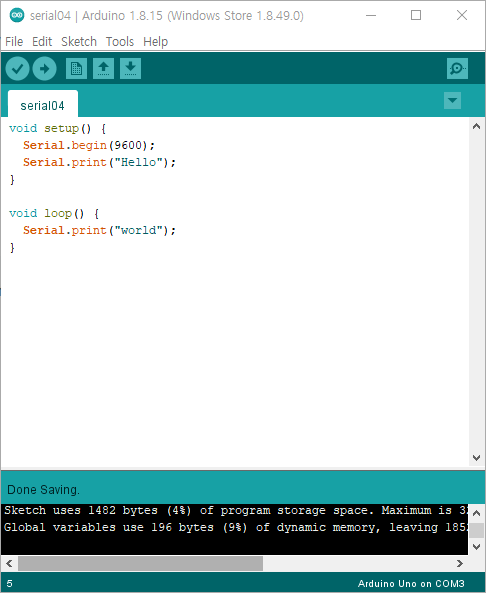
loop 안에
print()함수를 쓰면
print()함수가 반복됩니다.
void setup() {
  Serial.begin(9600);
  Serial.print("Hello");
}

void loop() {
  Serial.print("world");
}

만약 줄바꿈을 하고 싶다면
다음과 같은 방법들이 있습니다.
- 문자뒤 \n을 추가
- println() 함수를 사용
void setup() {
  Serial.begin(9600);
  Serial.print("Hello\n");
}

void loop() {
  Serial.println("world");
}

4. Read from serial monitor
시리얼 모니터로부터
입력값을 읽어오는 예제는 다음과 같습니다.
입력창에 전송할 값를 넣고
"Send" 버튼을 누르면 됩니다.
(이 코드에서 문자의 경우, int로 변환되어 ASCII 값을 출력하게 됩니다.)
void setup() {
     Serial.begin(9600);
}

void loop() {
     if (Serial.available()) {
          int r = Serial.read();
          Serial.println(r);
     }
}
